If you're a new user ready to take your first steps with Subly - this is the perfect place to start! After reading his article, you will be using Subly in no time!
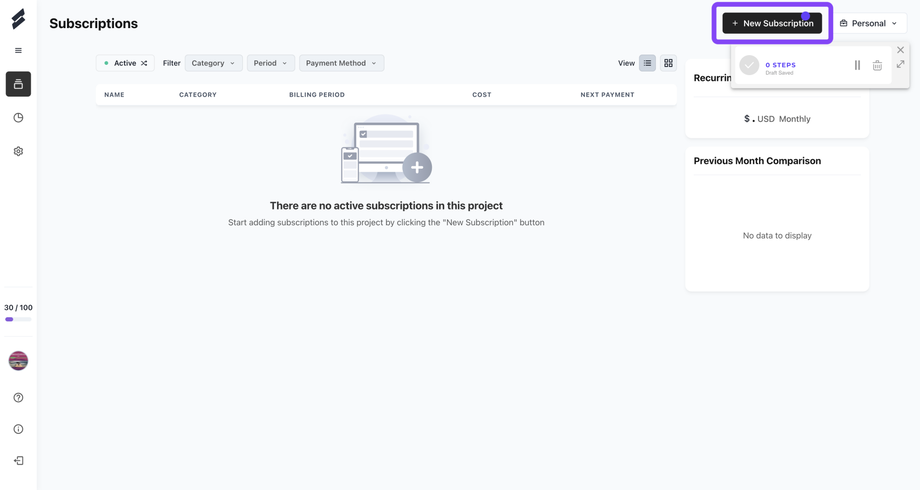
You can start adding a subscription to Subly by clicking on the New subscription button located at the top right corner of your screen.
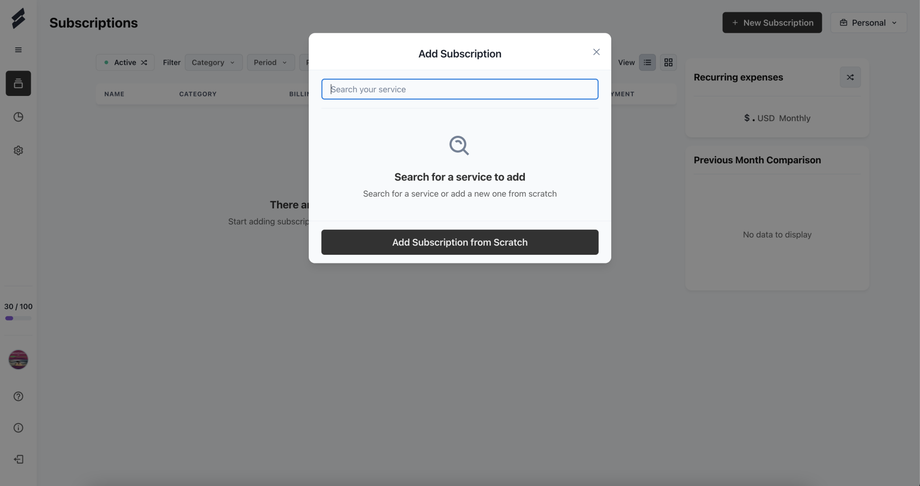
A modal to search for your subscriptions will show, here we provide some quick start templates for the most popular subscriptions. If the service you'd like to add is not in the list, you can always create a subscription from scratch.
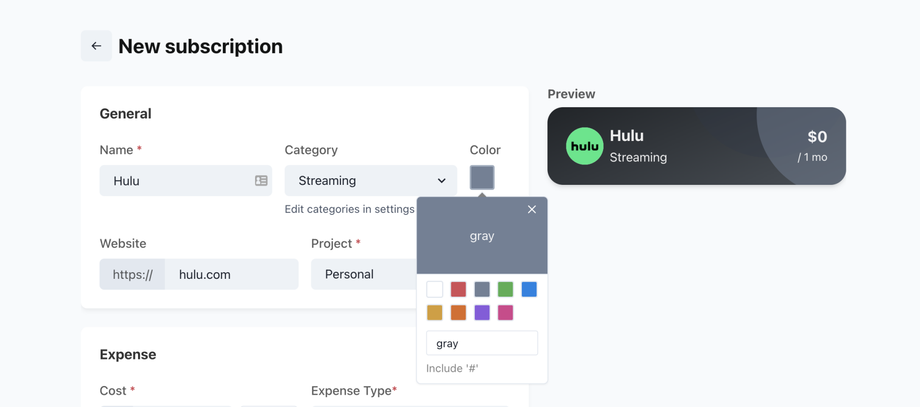
You'll now see the new subscription page, start by adding the name of subscription, a category and a color to help you recognize it. Don't worry too much about any of these, you can change all these details at any moment.
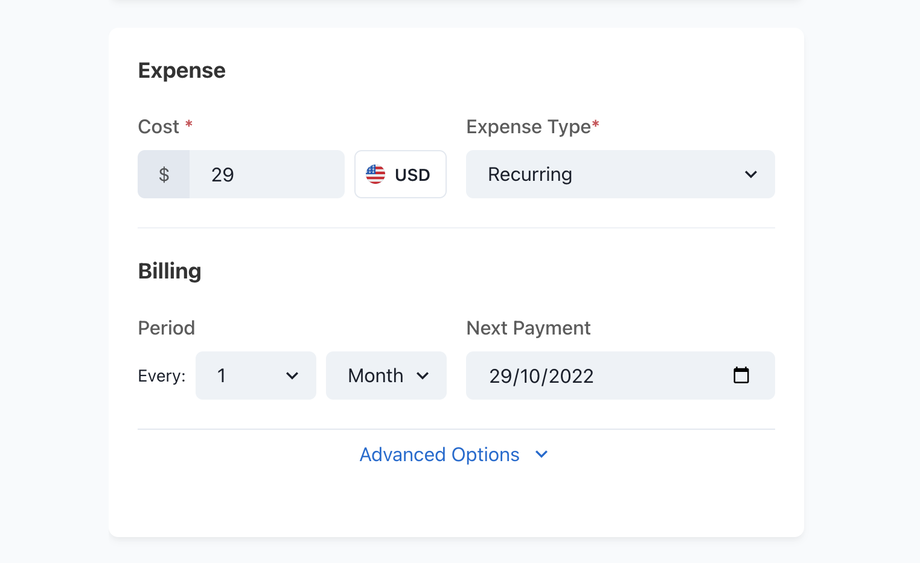
From there you will need to enter the cost and the billing period on which the subscription renews, Subly supports ranges in weeks, months and years. If you'd like to add a bi-monthly subscription select every 2 months, now enter the next payment date.
Once you have entered the billing and cost information, you will see a Reminders section, you can set up to 3 reminders for each subscription.
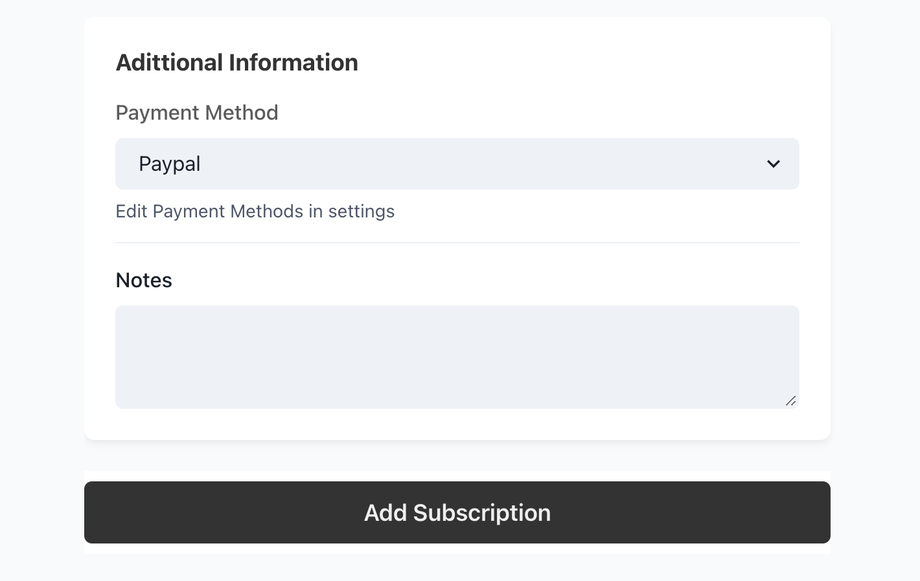
Finally, you can add some additional information to get more insights on your costs like which payment method you're using and adding notes. By default, you payment methods list consists of Paypal and Credit card, you can edit this list in the Settings.
Once you've finished entering your subscription information. Click Add Subscription and that's it! You'll get redirected to the main view, the subscription you just added will appear there.

